Table of Contents
The IT department offers you the possibility to use a forge gitlab for your development codes. This git-based system also offers wiki, bug tracking and continuous integration features. Via this system you have the possibility to create a tree of files in your project to keep all versions and differences.
You can also share the development of your code with a group of users (external or internal to the laboratory). This group can intervene to modify the code. Any modification will be kept in the system in order to go back if necessary.
For collaborators outside the OSU, please open a ticket on the support site https://assistance.osupytheas.fr so that the SIP can create an account for your collaborator.
The service is available here: https://gitlab.osupytheas.fr
Gitlab also allows for CI/CD (Continuous Integration, Delivery, and Deployment). By following this link you will find a tutorial that explains how this works in our IT infrastructure.
Getting started
Creating a project
Log in with your OSU credentials at https://gitlab.osupytheas.fr
Note: Only OSU staff can connect to Git. In the case of external collaborators, it is possible to authorize them to connect to Git. In this case, the SIP must be contacted in order to create a Gitlab account for the external staff.
- Click onr New Project (on the right)
- Choose Create Blank Project
On the new interface (fig.1), the following fields must be filled in:
- Project Name : Name of your project
- Choose the type of visibility for your project
Visibility of your project :
- Private : You will be the only administrator working on your project.
You can then add users if you wish to share.
- Internal : The project is available to all people connecting to the Git.
- Public : Your project is open to the public.
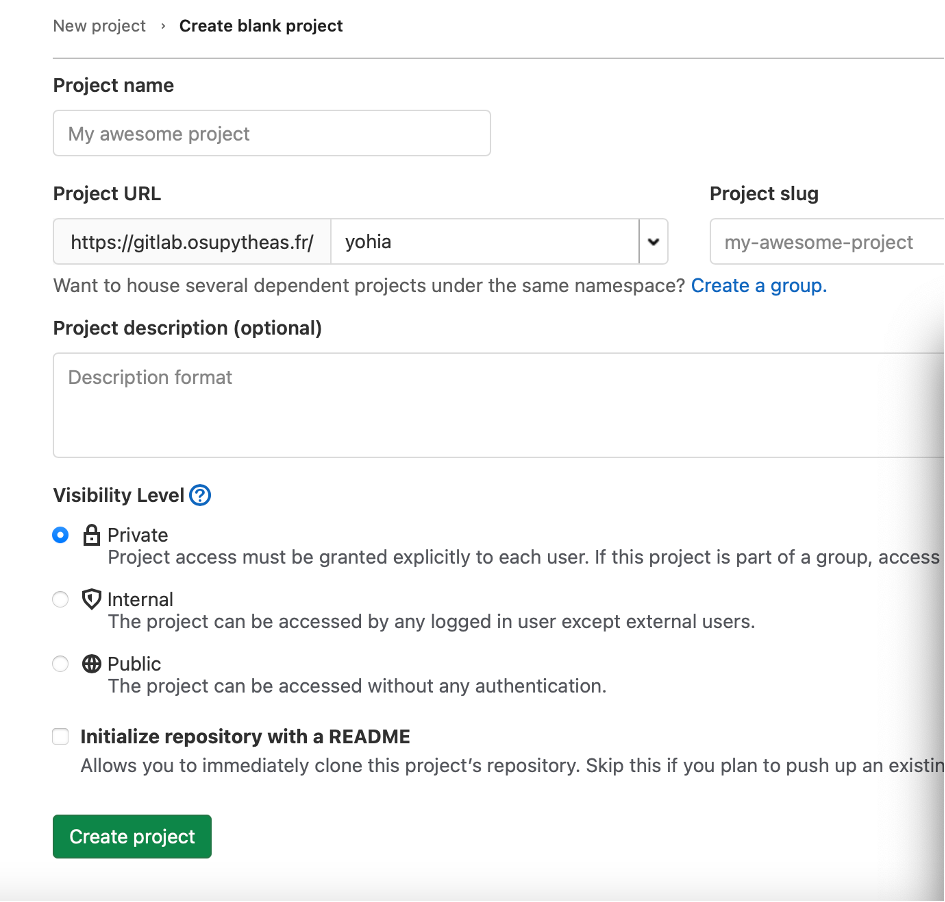
Last step, click on “Create project”.
Project start-up
A new window opens as shown below (fig.2 and fig.3).
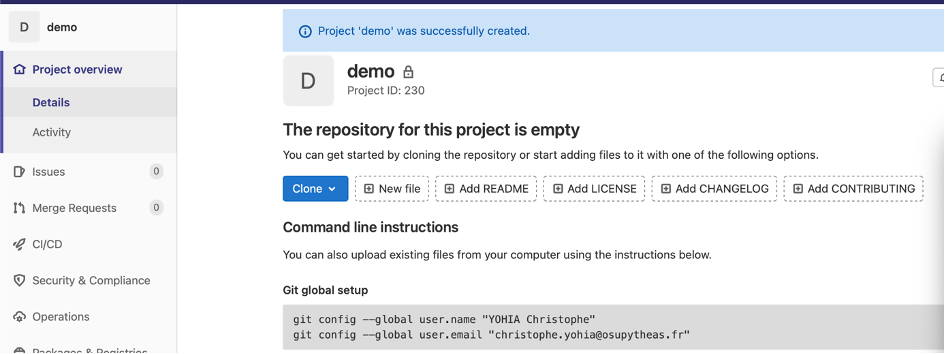
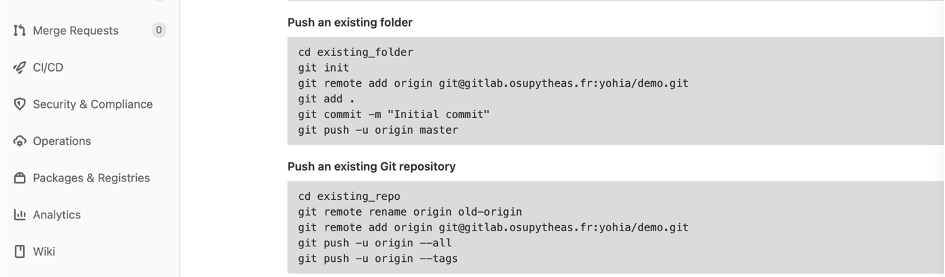
The Git gives the commands and information to import the project into your working directory.
On your computer or on the cluster or any other environment you are working on, you will now have to import your project.
The rest is done on the command line from your workspace.
Cloning the project
This means that the project will be created in your directory.
Just type the following commands.

Example of a cloning of an existing project:
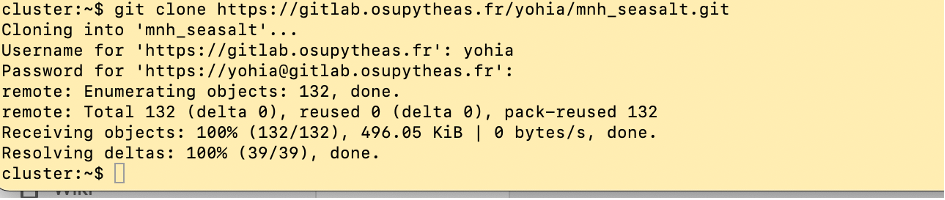
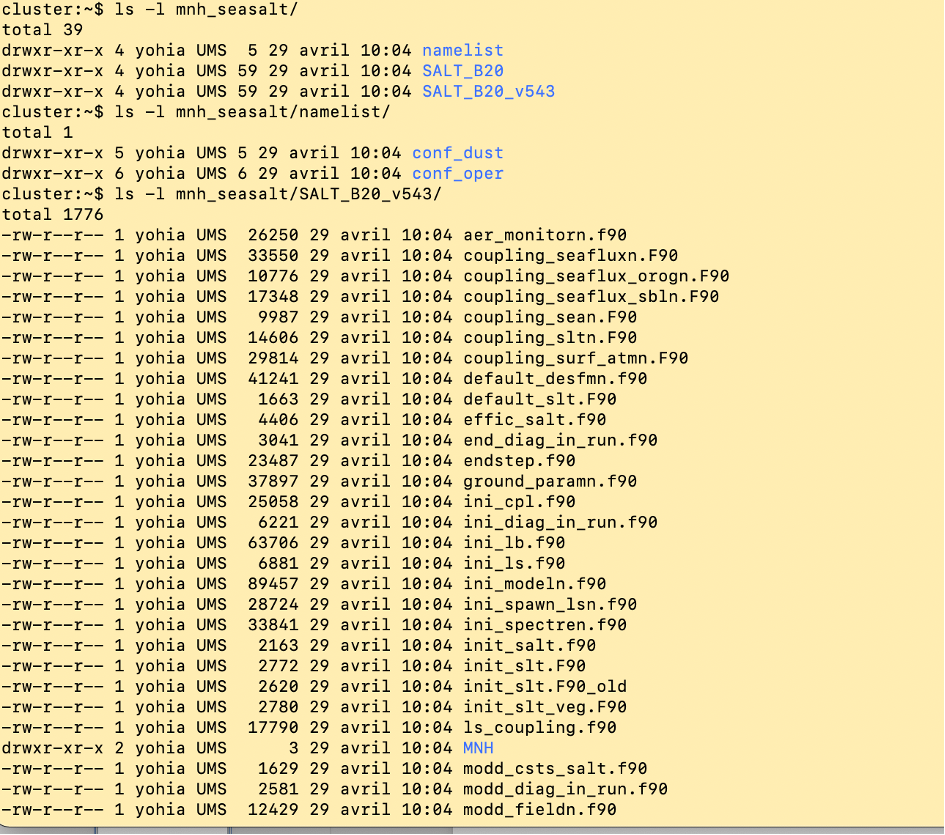
In my workspace, a new folder has been created with the name mnh_seasalt containing all the sources.
You can then see the whole project directly in my directory.
Update of the project and deposit of new sources
If we continue with the above example.
Let’s say we have made a change to some code on the mnh_seasalt project.
You just have to copy this new source into the directory and then update the git.
Two options :
- you update all sources


- you only update a file
Then just do git add chemindemasource/masource
And then git commit and git push.
Basic controls
To retrieve the project
git clone https://gitlab.osupytheas.fr/infrastructure/data-cluster.git
To add a file
git add nom_fichier
Validate your changes locally
git commit -m "modification fonction de clustering"
Pushing a file into the repository
git push
-> the order requires that you can modify the deposit
History of commits
git log
Update your local repository
The following command allows you to update your code locally by applying the latest changes in the repository:
git pull
Share a project
It is possible in gitlab to share a project with other collaborators (staff of an OSU laboratory or external staff without a computer account) by following the procedure below:
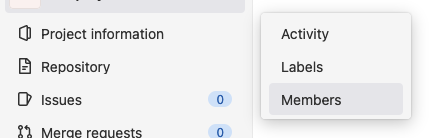
From the gitlab interface select your project, click on Project information and finally on Members.
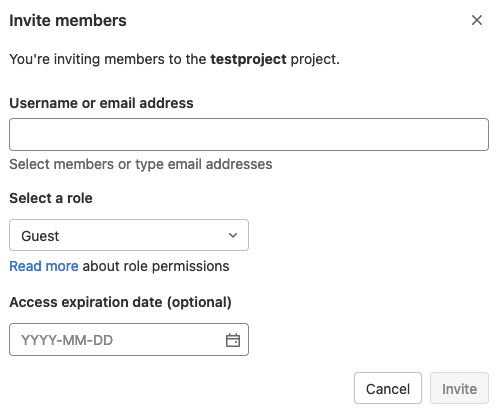
Click on the Invite Members button on the right.

All you have to do is fill in the specific fields in the invitation window.